With just 13 milliseconds for the human brain to comprehend a picture, you don’t have much time to create a positive impression on potential buyers. Your online store’s visual appeal is one of the most important factors in determining whether customers will continue shopping with you or leave.
Excellent product photography is a powerful tool for reaching this goal.
If you own an online store, you undoubtedly already know how great your items are. However, your customers can only go by the photographs you provide until they get their hands on one. As a result, top e-commerce companies need to sell high-quality goods and provide detailed photographs of those goods. These photos attest to the quality of your items and provide credibility to your online store.
Learn all you need about product photography, like product photography tips in this blog, and you’ll be well on taking stunning images.
Product Photography Tips And Process

Product photography might appear daunting to those unfamiliar with the differences between Nikon and Kodak cameras. Moreover, it is not feasible for small enterprises to spend money on high-priced photographic equipment.
Compared to even a decade ago, shooting professional-quality photographs is much easier. Considering that most of us currently carry about a 12-megapixel iPhone camera and that many professional-grade editing programs are becoming more inexpensive, enhancing your e-commerce photography is likely easier than you think.
This article will go through the essentials of creating a home product photography studio without breaking the bank.
1. Set Up Your Background
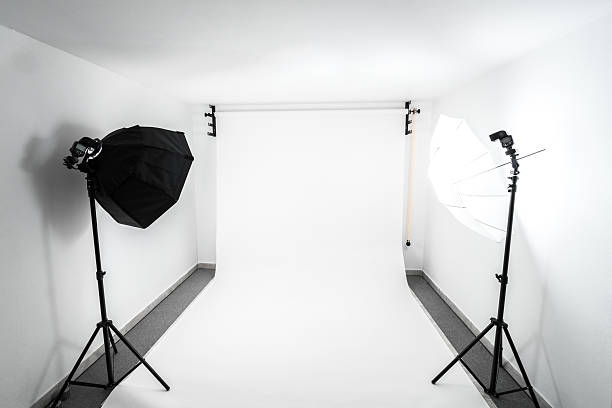
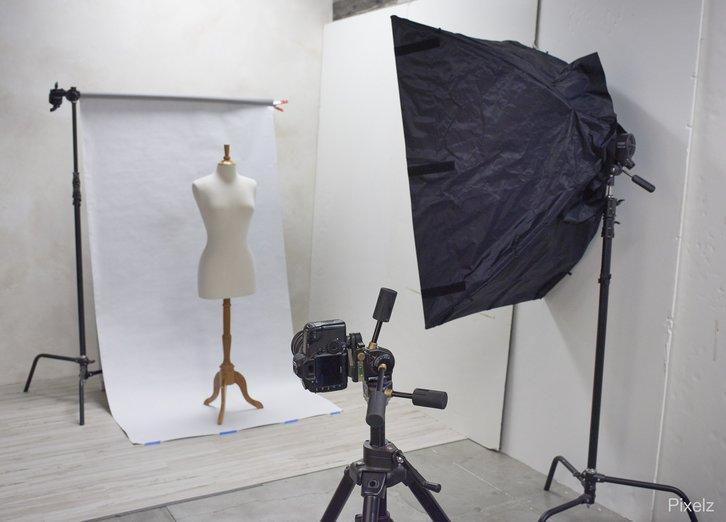
Choosing a good backdrop allows viewers to concentrate on the object being photographed and facilitates post-production editing. If you want to eliminate clutter and blemishes from your images with no effort, try taking them against a white or bright background. Luckily, a pricey studio background is not required to get a professional result.
2. Set Up Your Product
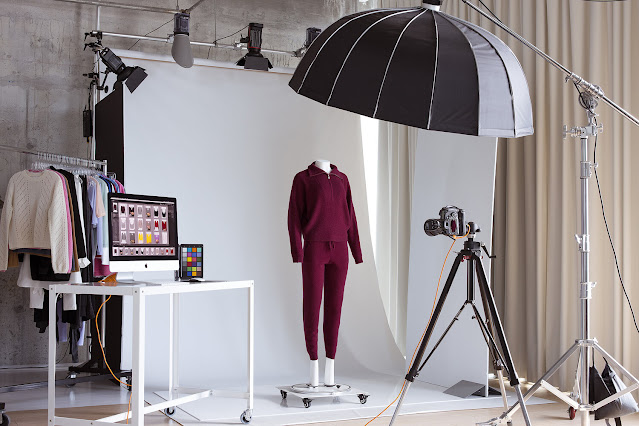
The moment has come to put your goods front and center. Finding the ideal place for your goods in terms of lighting and background may not take many trials.
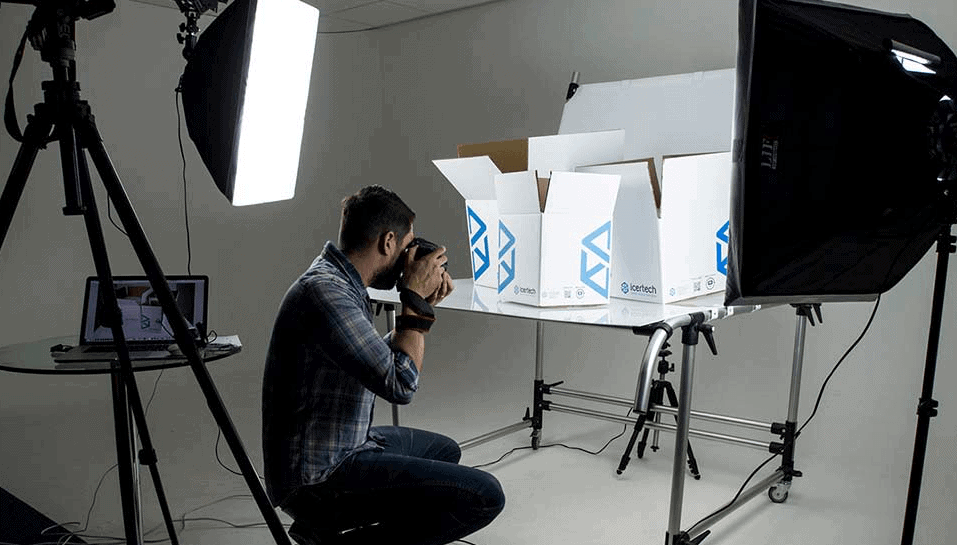
In front of the background, on a flat, sturdy surface like a table or chair, position your product so that it is in the center of the shot.
3. Adjust Your Lighting
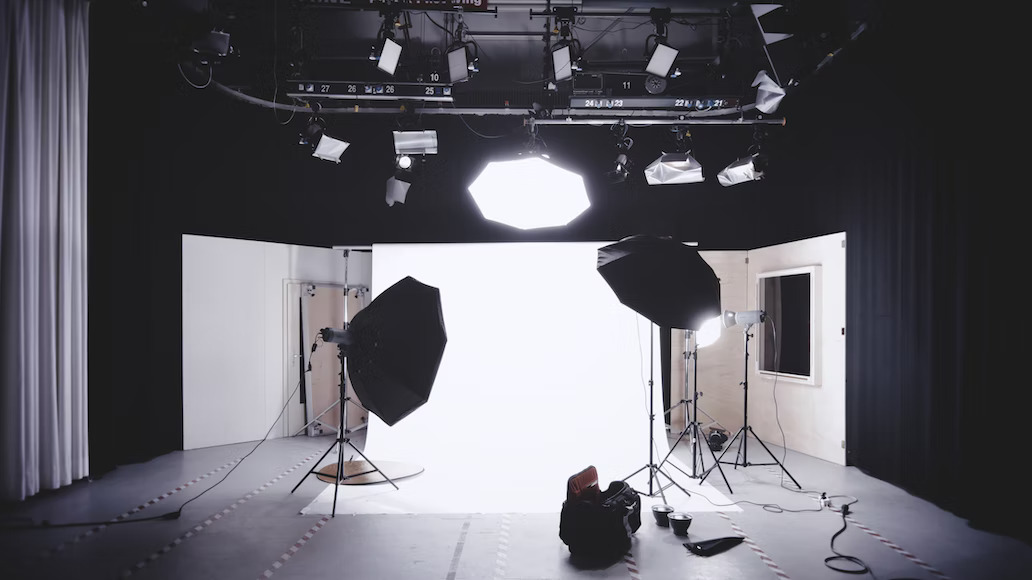
Having well-balanced lighting is crucial for taking good product photos. Putting in the time and effort to get the lighting right is time well spent since it means less work cleaning up your picture in post-production. It’s a relief that there are only two options for Product photography lighting: natural daylight and artificial illumination.
4. Use A Tripod
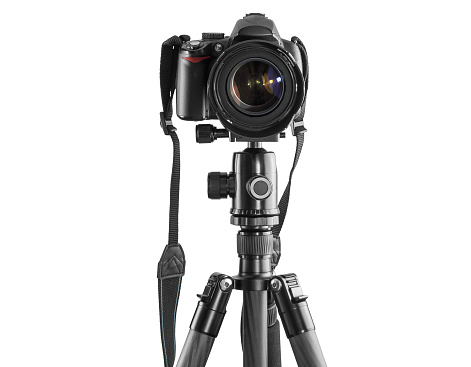
The depth of field determines the sharpness of an image; thus, achieving a large value for this parameter is essential for taking clear pictures of your goods. A high f/stop (small aperture) and slow shutter speed will help you do this.
However, it’s practically hard to keep the camera steady enough with your hands when the shutter speed is low; therefore, a tripod comes in handy in these situations.
5. Pick The Right Camera
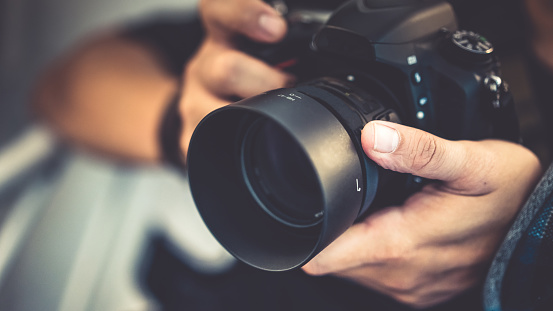
Although it may seem obvious, the best product photos are taken with the correct camera. Feel no need to go out and get an expensive DSLR camera if you don’t intend to conduct regular photoshoots or if your money is tight.
Technology has gone a long way for smartphones, so if you have an iPhone in your pocket, you’re set. You can always find the right lighting setup or background to enhance your images.
Take Multiple Product Photographs And Evaluate Them
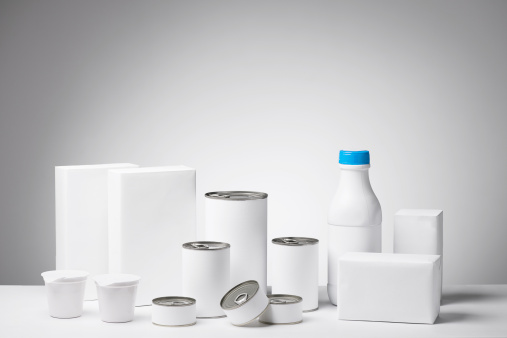
At long last, your product photos will be put to use! It’s normal to feel a little camera-shy until you get the hang of things, so don’t be shy about taking a bunch of practice shots. Try shooting from various distances, locations, and perspectives to find the optimal vantage point.
Rather than trying to judge the quality of your photos by looking at them on the camera’s small screen, you should transfer them to a computer when you think you’ve shot enough. You may want to utilize product photography equipment like Adobe Lightroom for easier organization and get started editing.
1. Retouch Your Pictures: Post-Production Work
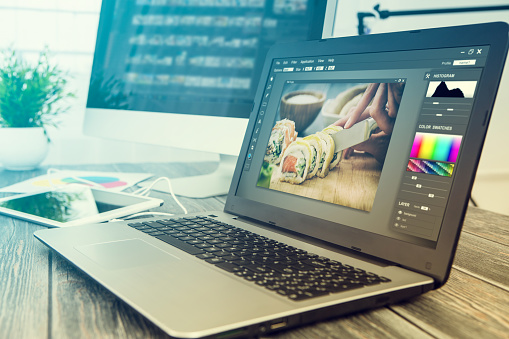
We’ve reached the post-production phase. Even if you’ve presumably already taken some good photos, editing them is still an important step. This will elevate your photographs to professional levels and guarantee that all of the product shots on your site are of the same high quality and have uniform lighting and placement.
Colors can be tweaked, clutter can be removed, and lighting can be tweaked with a little retouching or editing of your product photographs.
Post-production may seem like a lot of work at first, but after a couple of practice runs in your favorite picture editing program, you’ll be able to knock off your edits in no time.
Final Thoughts
You now have a toolbox full of advice and materials to improve your product photography and see results immediately. It is not necessary to make all of these changes at once. It takes time and practice to develop a system for producing consistently high-quality product shots, so don’t give up if, at first, you don’t succeed.
Once you get the hang of it, you can use your product photography skills to your advantage, resulting in stunning product shots, a memorable brand, and a thriving online store.
Here we’ve found an article for you!
Read More Related Blogs
- 11 Expert Tips on Apparel Product Photography
- Pro Tips to Make Product Photographs Look Extraordinary
- Tips to Choose the Right Montreal Product Photographer
- 10 Expert Tips On Jewelry Product Photography
- The Complete Guide To Ensure Ecommerce Success
- Amazon Product Photography – Take Stunning Product Photos & Increase Sales
- Tips for Good Product Photography

