Product photography is essential nowadays whenever online selling is concerned. However, this kind of photoshoot is not just a walk in the park, it requires a lot of preparation and technicality. Therefore, the steps for perfect snaps, just like the professionals in Montreal Product Photography, are given below.
The perfect product photo gets your customers excited about what they’re buying and makes them feel as if they’ve experienced something unique. The best way to achieve this is by using professional product photography. But what exactly is professional product photography? And how can you make sure that you’re doing it right? In this article, we’ll go through the 10 steps that will help you create professional-looking product photos every time!
Prepare Your Products Before Taking Product Photographs
Now you’re ready to take your photos. You can use whatever props you want, but make sure that they don’t distract from the product itself. If you have a lot of products in one photo, consider using a smaller object or prop on each product so they appear more evenly spaced out and not too crowded together.
You should also prepare any packaging that comes with your products before taking photos so there are no surprises when customers get them home—this will save time later on!
Make A Checklist To Make Sure You Don’t Forget Anything
Now that you’re ready to go for high-converting product photography of your products, it’s time to make sure everything is perfect. There should be a list ready regarding the photos you need to take. At the end of the photo shoot, you should have at least some simple product shots taken in front of a neutral background and several fun shots that resonate with the mood of your brand. You also need to have some lifestyle snaps so that customers feel what your product will offer in real time.
Before actually taking the pictures, we highly suggest making a checklist of things to do in order:
- Make sure all necessary equipment and accessories are present. This includes any props or lighting used during shooting. If anything is missing, ask yourself why it was left behind and how this can be fixed before proceeding with photography.
- Check out what kind of lighting will work best for your shoot (and consider using an assistant if necessary). You can also use different types of lighting setups depending on what type of photo needs producing—for example, some types are better suited for close-up shots while others would be better suited for group shots!
- Have someone else hold down the subject’s hands so that they don’t move around too much during shooting time; otherwise this could lead towards blurry images as well as unwanted movement throughout each shot.”
Imagine Your Desired Product Photograph
Visualizing the ideal snap even before starting the photo shoot is the first step. Next, you should decide on the look and feel you are trying to showcase in your photos. This requires a thorough study of the angles, tones, and colors of the images. Chalking out these minute but important details will help you stay on track during the product photography program.
- The Purpose Of The Photo. Think about what you want to convey and who will be able to see it best. Will it be used on social media? In an ad campaign? For someone who’s just browsing Pinterest, or for a designer who needs inspiration for a new collection?
- Your Audience. Do they have similar tastes as yours? Are they interested in fashion trends or design styles that are exactly like yours (and vice versa)? Are they looking for products like yours but don’t know where to start finding them online yet—or maybe even if there are any out there that fit their needs?
- Style Choices And Messaging: If you’re working with other brands/companies already established within this industry, consider collaborating! This can help establish more credibility between brands through shared experiences like collaboration opportunities such as photo shoots together.
Create A Shot List For Each Product
A shot list is a document that contains all the photos you need for your product photography shoot. The idea behind it is simple: You want to be able to quickly go through your shots and edit them, so you can get everything done in one day or less.
The first step in creating this document is deciding what shots are included on your list. This could mean anything from just one image of each product—that’s called a “solo” shot—to multiple images of different angles, sizes, and colors of the same product type (like if I were photographing a pair of sunglasses). It all depends on how much detail you want people to see when they look at these products online! Also, don’t forget about any accessories that might come with it like hats or belts too!
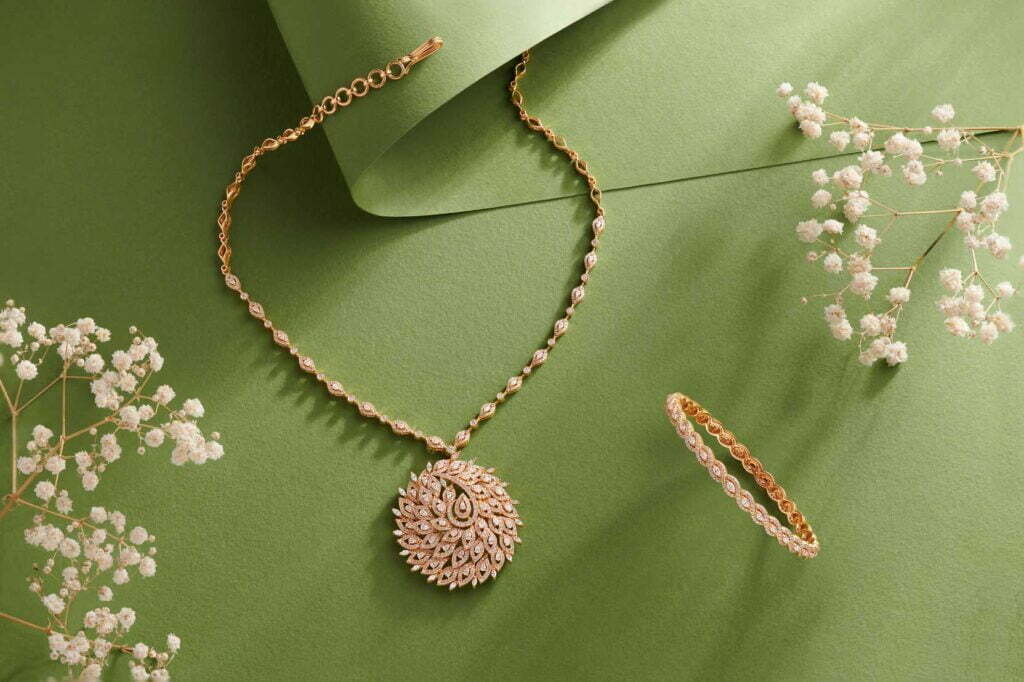
Select The Right Background For Your Product
Backgrounds play an important role in product photography, as they can make or break a photo. Good backgrounds can add texture and interest to your shot, while bad ones can make it look amateurish or even tacky. To find the right background for your product, consider these things:
- What’s In Front Of Me? The best way to choose an appropriate background is by considering what’s going on around you when taking photos of something like this (for example: do I want some flowers growing on top? Or do I just want the sky). If there are no other options—and if you’re looking for something different from what’s already available—it may be worth visiting a local park or nature preserve where there may already be beautiful scenery that could work well as part of a shot!
- How Will I Use This Image Later? Is there anything unique about my product that makes it stand out more than others? If so then maybe those qualities will show up well against any type of backdrop because they’ll really pop out against one specific color scheme (such as black) rather than blending into everything else around them.”
Choose A Suitable Angle For The Camera
The angle of your camera is important. It can determine the perspective and how it appears to those looking at your product photos, so make sure you choose an appropriate one!
When choosing an angle for your shot, keep in mind that the closer you get to your subject (the more zoomed into their face) will make them look smaller than they are; likewise, if you move further away from them (zooming out), they’ll appear larger than life. This might be useful if a customer needs to see exactly what they’re buying before making their purchase decision—but even then there are other things worth considering when deciding where to stand during shooting:
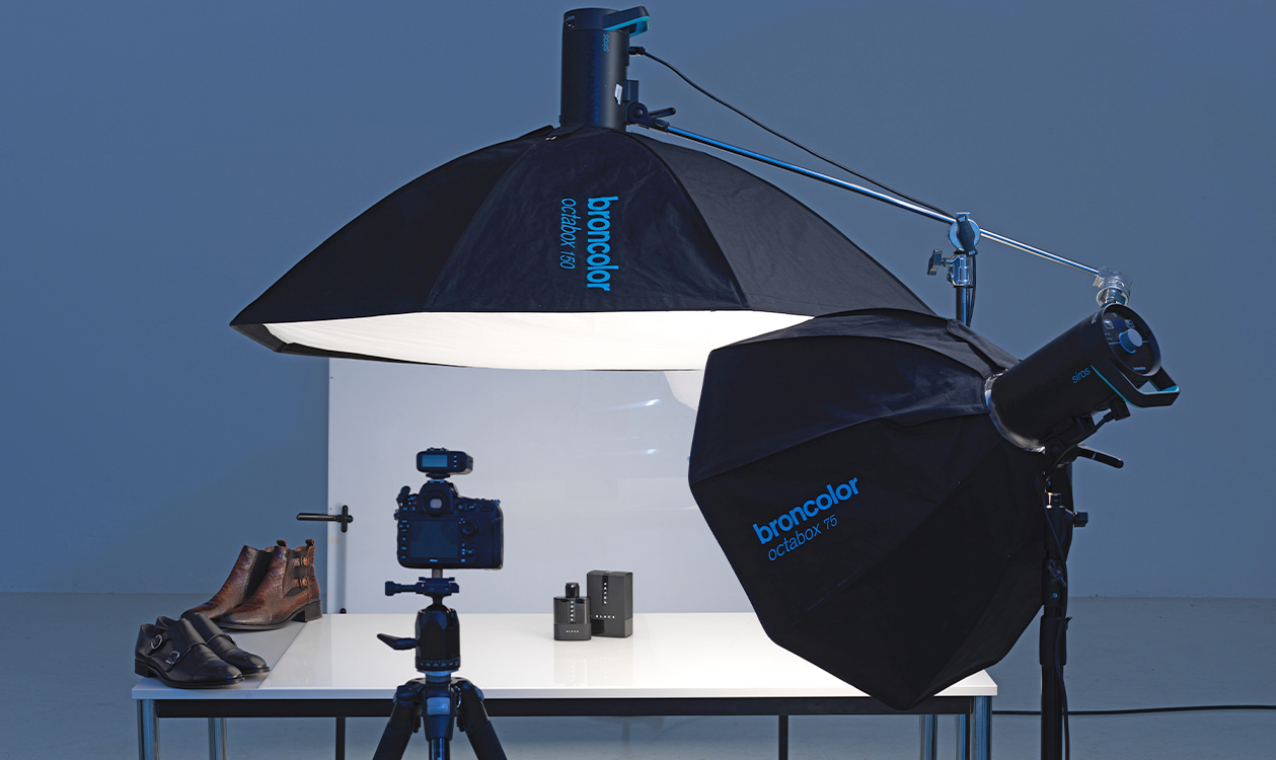
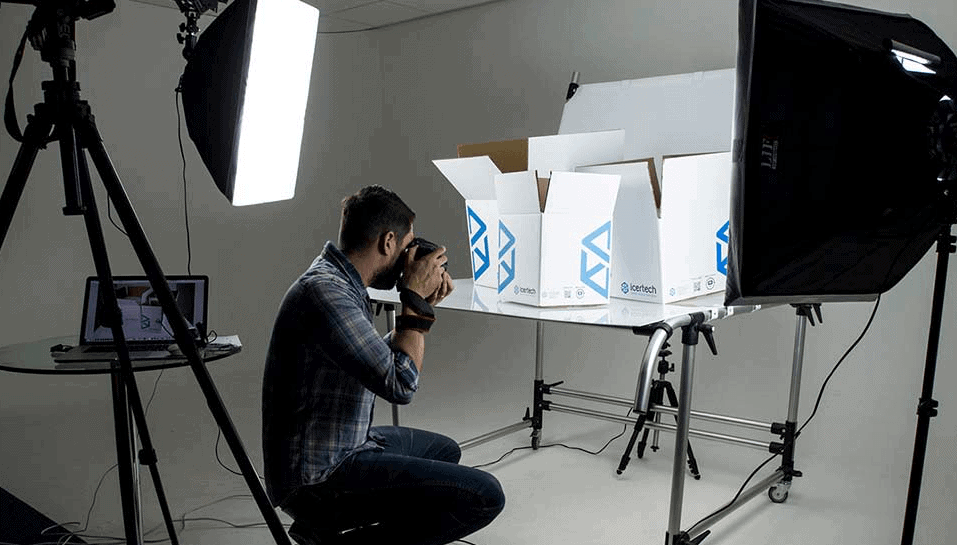
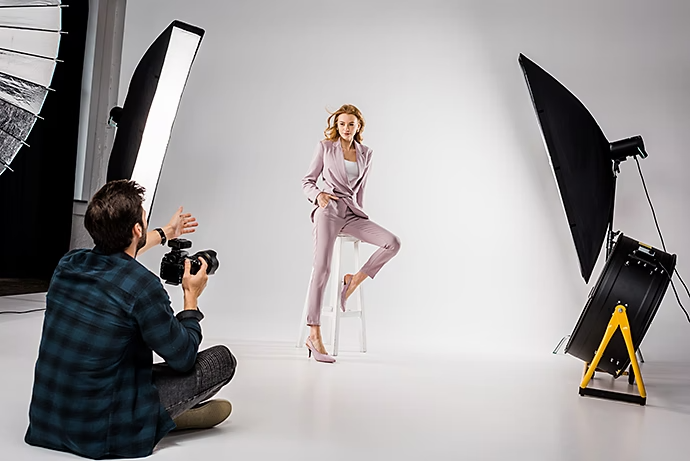
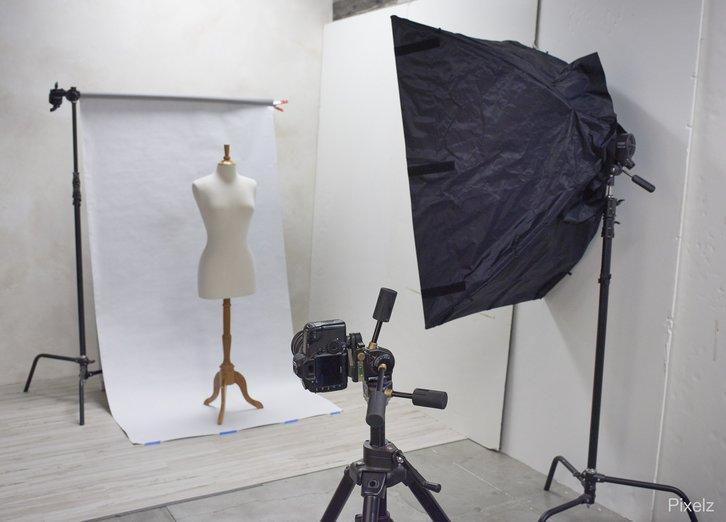
The Importance Of Lighting In Product Photography
Setup and proper lightings are the heart and soul of your product photographs. You should always be ready with the setup on the decided day and wait for the perfect time to start. It is advisable to select a time when there is access to natural light. The setup must have a platform on which the products are displayed and a suitable background that will bring out the details of the products.
Lighting is not just about getting the right shot, it’s also about making sure people can see your product clearly. Natural light from an overhead window or a window in front of you will do just fine, but if you don’t have enough natural light to work with, consider investing in some sort of flash diffuser (also called a softbox). These are plastic boxes that hang from ceilings and walls and contain lights that create softer shadows around your subject(s) for a more flattering pose.
Editing Is Essential To Achieving Professional Results
After the photo shoot, the second step is to choose the suitable images that go best with your products. Editing is a very important part of post-photoshoot sessions to enhance the photos’ quality to attract customers. There are several software and applications available online that can help you to achieve that.
Here are some tips for making edits:
- Keep it simple by editing only one or two things at a time. This can help you focus on one thing at a time and not get distracted by how many things need fixing in your picture (which may lead to frustration).
- Use an app like Adobe Lightroom or Photoshop Elements if you have them installed on your computer; otherwise use photo editing software like Photoshop CC or Gimp2 that has features similar to those of Lightroom/Elements/Photoshop CS6/CC 2015 etc… You can also use apps like Snapseed which allow certain commands such as cropping and correcting color balance, etc…
Pay Attention To The Details
The next step in preparing your product photos is to pay attention to the details. You must remove any dirt or dust from the product and check for any flaws in the product, such as dents or scratches on the surface. If there are any missing parts or accessories, it may be best to leave them off until later when you’re photographing complete items rather than individual components of one large object (such as an iPad). Finally, make sure that all documentation is present before getting started with your shoot—any paperwork about warranty issues will come in handy during post-production if something goes wrong!
Apparel Product Photography takes a lot of time to capture the ideal shot. Hence, the key is to stay patient and wait for the right snap. You should take multiple shots in the same setup and from the same angle. Professional photographers are always aware of the number of shadows and details in a photo to select the perfect pictures, and they take several snaps to get that.
Choose The Right Lens And Camera Settings
The next step is choosing the right lens and camera settings. A wide-angle lens will give you a more cinematic feel, while a telephoto will make your subject look bigger than they are. For example, if you’re photographing someone standing in front of a wall with their back to it, they’ll appear much smaller than they would if they were facing away from it (because then your eye can see objects at greater distances).
You also need to use a tripod or other stable support because this will help keep any movement from blurting out in photos—especially important if your subject is far away or moving around quickly! And lastly, don’t forget about remote shutter releases; these allow photographers who aren’t able or comfortable holding their cameras still enough time during critical moments such as weddings where guests arrive late so everything doesn’t end up being a blurry mess!
Conclusion
As you can see, each of these steps is key in product photography. Missing one will lower the quality of your photo. This checklist helps you make sure that every step is covered and set up properly before taking any photos.
These are the steps for a perfect product photography session. However, to get the most favorable results, you can always take the help of professionals in Product Photography Montreal.
I hope this article has helped you understand the importance of product photography and how you can take the perfect product photos for your E-Commerce store at Amazon or others. Product photography is an art that can be taken to a new level with some practice and patience. By following these 10 steps, you will be able to take high-quality photos of your products and have them look amazing on your e-commerce store, website, or on social media platforms such as Instagram or Facebook!