Clothing photography is vital in the fashion industry for promoting clothing lines, capturing customer essence, and influencing consumer behaviour, potentially influencing sales. This blog provides essential information and tips for creating stunning clothing photography Montreal, ensuring customers review and purchase clothing from online stores, social media, or portfolios.
What is the equipment used in clothing photography?
- Camera
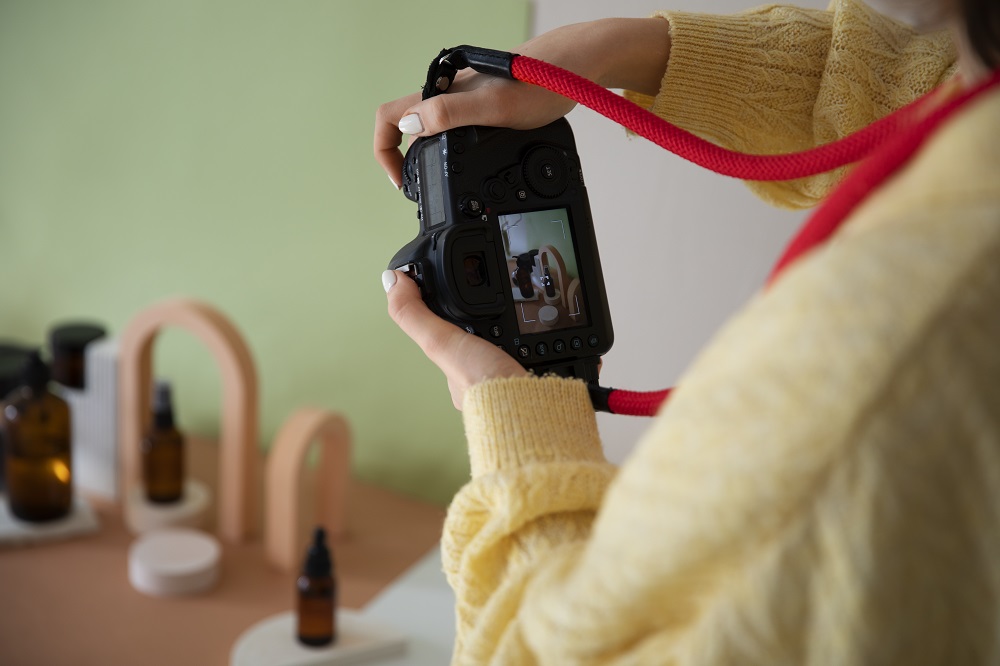
Camera selection is crucial for clothing photography, with professional, vintage, and phone cameras suitable for various applications. High-quality DSLRs or mirrorless cameras are ideal for online store photography (such as Amazon product photography Montreal), budget photography, or skill improvement, while phone cameras are suitable for quick photos or social media use.
- Tripod
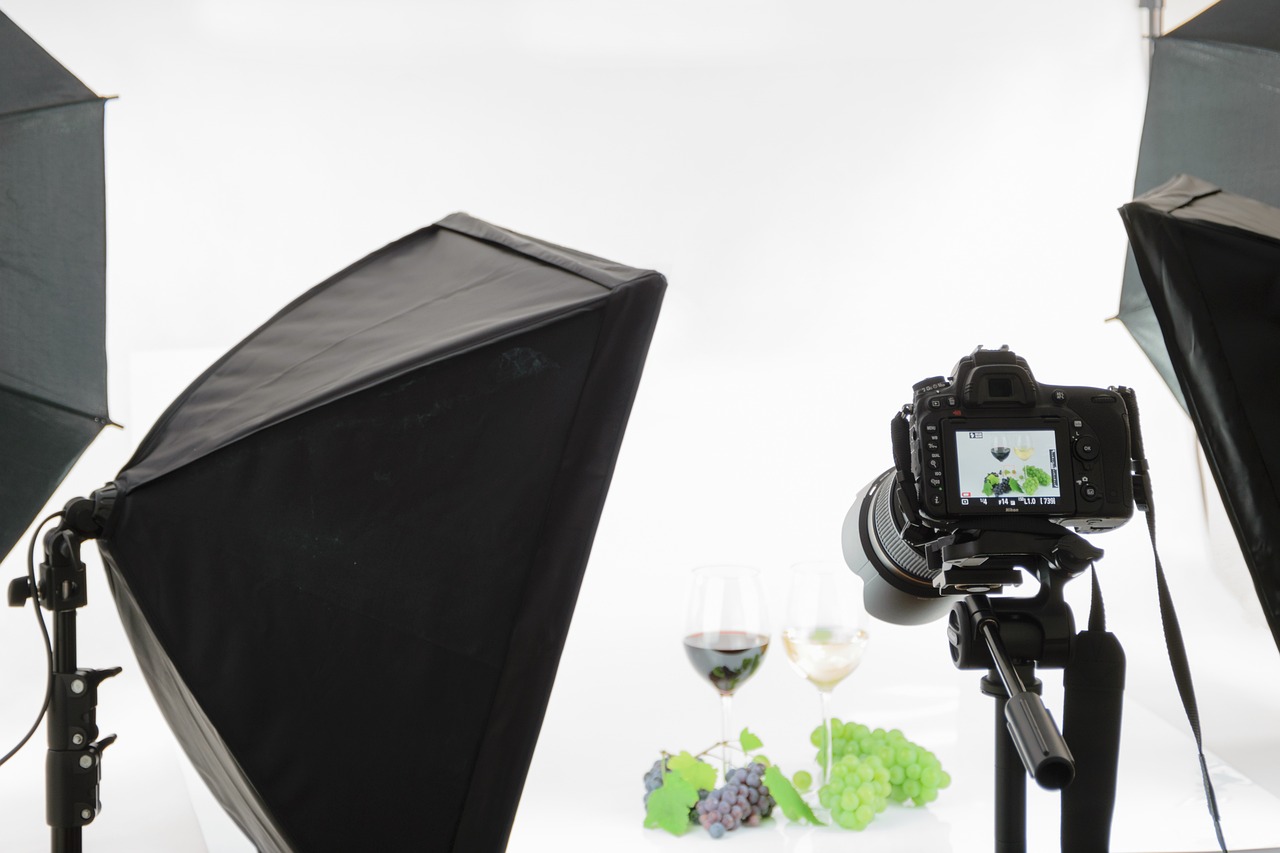
A tripod is crucial for producing steady, blur-free images, allowing for fine-tuning composition and experimentation with settings. It should be compatible with the camera and support its weight. A lightweight, portable tripod with height and angle adjustments is ideal for photographing clothing products.
- Source of lighting
Assess your photoshoot environment before choosing the best lighting source. Natural light is ideal for outdoor and online photoshoots, while investing in equipment like softboxes and umbrellas can be beneficial for clothing photography. Three-point lighting, with key light, fill light, and backlight, is important for effective clothing photography.
- Background
A versatile and timeless background, such as a simple white or single colour, is perfect for clothing photography. It should fit your shooting style and environment, as well as your outfit product. Photographic studios often offer a variety of backgrounds, so only invest in one if necessary for your clothing photos.
- Mannequin
Choosing the correct mannequin is essential to successfully displaying clothing. Mannequins come in various sizes, styles, colours, and poses, including dressmaker and store models. Dressmaker mannequins are ideal for dresses, tops, and outerwear, while store models are full-body, adjustable, and customizable. Consult with professionals for recommendations.
Which kinds of clothing photography exist?
- Outdoor clothing photography
Outdoor clothing photography connects your clothing line to specific lifestyles or activities, offering a variety of scenic backgrounds and natural lighting. It provides authenticity, realistic colours, textures, and details, and allows customers to visualize themselves wearing the clothes. Outdoor photography is less expensive than studio rentals and more weather-dependent, so be flexible and act quickly if needed.
- Studio clothing photography
Clothing photography involves various settings like studios, models, mannequins, and ghost techniques. Studios offer a clean environment for editing, models provide a visual representation of garments, mannequins are useful for e-commerce platforms, and the ghost technique creates an invisible figure wearing the garment for customers.
- Flat-lay photography
Flat-lay clothing photography involves capturing items on a flat surface from above to convey an aesthetic, showcase a fully styled outfit, or display a collection of products in a single shot. It requires minimal space and natural or artificial lighting and can be used to display single garments or a combination of products. Flat-lay photos are popular on social media and can also be used for website design.
How can you take great pictures of clothing?
Step 1: Photoshoot Planning
Planning your photo shoot can save time and prevent confusion. Determine the goal of the shoot, whether it’s for an e-commerce store or social media. Create a list of products, image types, and the number of photos needed for an organized and effective photoshoot. This will help you remember important details during the shoot.
Step 2: Choose the artistic direction.
Creative direction in photography is crucial for developing a brand image. A conceptual photoshoot requires inspiration for stories or narratives. Create a mood board or plan clothing photos. Simple product images against a white background can serve as a creative direction, ensuring a cohesive setup for all products.
Step 3: Select the appropriate area.
You can select an appropriate location based on your plans and creative direction. Set up at a photography studio, choose an outdoor location, or build a DIY home studio. Location is an important consideration when photographing clothing. It makes a significant visual impact on your clothing photos.
Step 4: Get the equipment ready.
Gather all of the professional equipment you’ll need for the photoshoot and consider the following:
- Determine the camera and lighting requirements.
- Determine if clothing is being photographed on a mannequin.
- Gather all the necessary professional equipment.
- Check if rental studios have pre-existing equipment.
If you’ve rented a photography studio, ask what equipment they already have, such as background settings, ring lights, etc., so you don’t bring or purchase anything unnecessary.
Step 5: Prepare the clothing.
Before placing your clothing item on the mannequin or model, ensure that it is wrinkle-free and in excellent condition. Straighten out any creases. Button or zip any closures. Inspect for any loose threads or flaws.
Step 6: Organize everything.
To ensure polished and professional product photography, ensure models are prepared and know their outfits. Set up additional light sources, such as natural light or artificial lighting, to avoid harsh shadows. Adjust camera settings for high-resolution images and prepare the clothing setup. Consistency in lighting, camera settings, and angles is crucial for a polished look.
Step 7: Capture various angles and details.
Show off your clothing from various angles, emphasizing all of the details. Take full-body shots, close-ups of intricate designs, and photos that highlight fabric textures. This will give your customers a comprehensive view of your product.
Step 8: Modify your images
Editing is crucial for enhancing apparel photographs by adjusting exposure, colour intensity, and editing software. Colour correction, contrast, clarity, and retouching can create sharper, more defined images. Cropping the final photos helps maintain organization and remove minor imperfections for a neat appearance.
Final Words
You’re finally set, from selecting the ideal clothing photography subject to organizing your gear and capturing those perfect shots. The only way to improve product photography is through practice. So begin with what you have, gradually accumulate your clothing photography equipment, and become a professional fashion photographer Montreal.


