Fashion photography is a crucial aspect of e-commerce, capturing high-quality images of apparel and other fashion items, including haute couture garments. A professional fashion Photographer Montreal typically poses a dressed model or mannequin in a studio or outdoor setting. The quality of the images is crucial for customers to make a purchase decision. Experience sets a professional apart from an amateur, and this guide provides essential information on clothing photography and how to capture perfect apparel shots.
What is the clothing photography equipment you need?
The equipment you use for your shoot is determined by your budget. You can keep your spending under control by purchasing a few low-cost items. You can also purchase more expensive equipment if you require special lighting or displays. Let’s take a look at the tools you’ll need for your apparel photography shoot:

- Tripod
A tripod eliminates camera shake, which is caused by accidentally shaking your camera during a shoot. (Everyone experiences this.) Simply mount your camera on the tripod, frame the product, and click the shutter. It’s simple. Tripods are not one-size-fits-all, so choose one that is compatible with your camera.
- Boards of foam
There is always a shadow side to the product when shooting with natural or artificial light. Normally, it is too dark to produce a good image. To brighten the shadow, use a white foam board to reflect light into it.
- Backdrop
For a white background for your shoot, consider purchasing a paper white sweep for large product shots. These large rolls of white paper can be used to create white backgrounds for clothing photographs. If the sweep becomes dirty, simply cut and roll out a new, clean one. Poster boards can be used instead, and they are inexpensive and available at local drugstores or online.
- Camera
To photograph your clothes, you don’t need the most expensive DSLR camera. New clothing retailers can also manage shoots using a smartphone. Use whatever camera you have available, whether it’s a digital camera, a point-and-shoot camera, or a smartphone.
- Illumination source
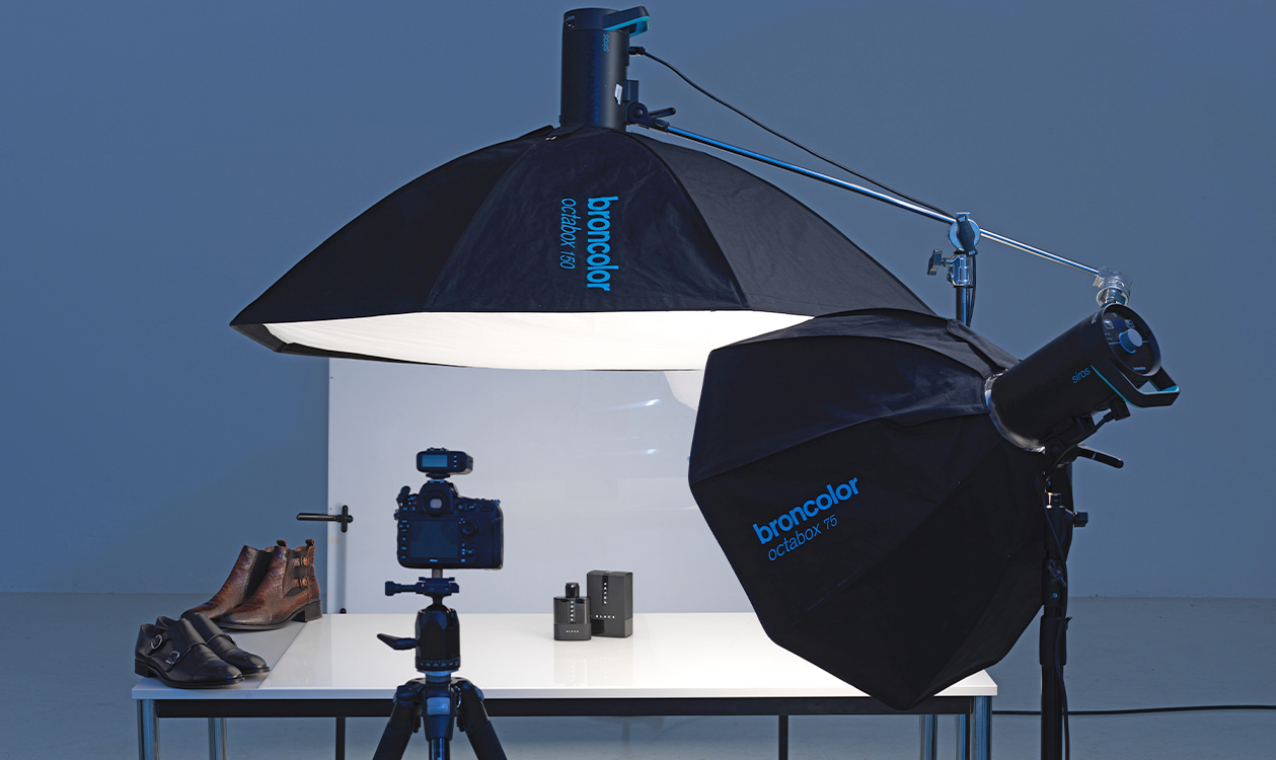
To photograph clothes, use natural light in a room with a window or artificial lighting like a softbox. Artificial lighting products can be found in the market or online. Keep your setup simple initially, and as you gain experience, add new elements to your shoots. Avoid confusion with the various photography lighting kits available online.
- Tape or clamps
Tapes or clamps will keep your foam boards and sweeps in place if you decide to shoot on a table.
- Model or mannequin
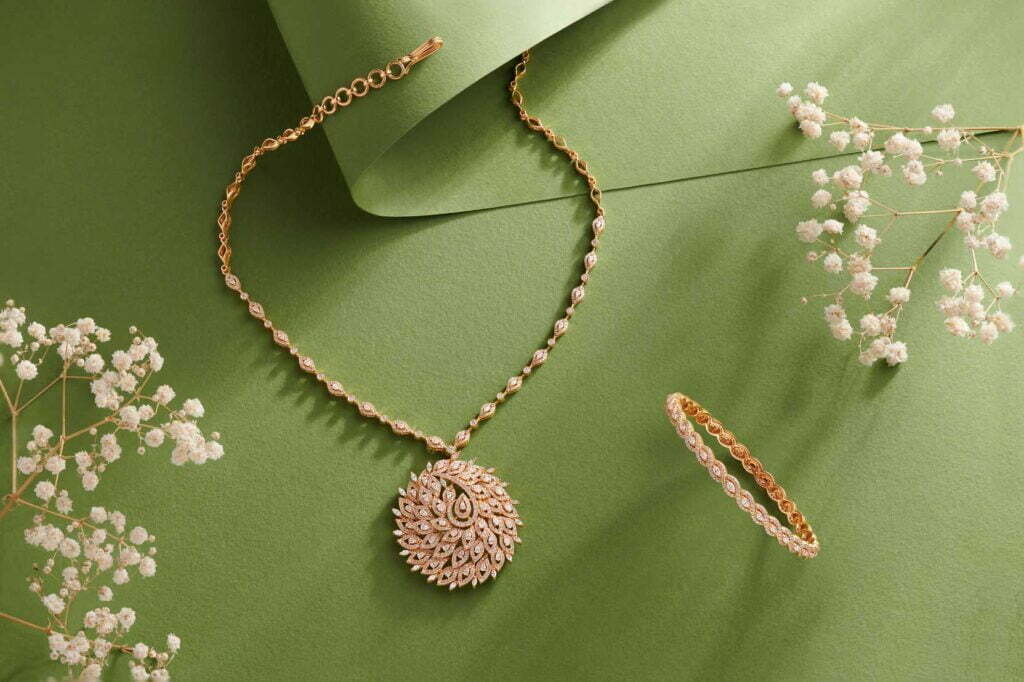
Mannequins are useful in clothing photography. Another option is to have a friend or family member model the clothing for you. A flat surface or table is an alternative for taking photos. It’s common for brands to shoot flat-lay clothing. This means your clothing is on the ground, and you’re shooting at a 90-degree angle from above.
What steps are involved in photographing clothing?
- Make your clothes ready.
To ensure high-quality images, it’s crucial to prepare garments for photography before using Photoshop or other editing software. Avoid using Photoshop for finishing touches and colour correction, as it’s not magic and can compromise image quality. Examine the product thoroughly, remove any identifying materials, iron, or steam if necessary, and repair any damage using lint rollers or tape.
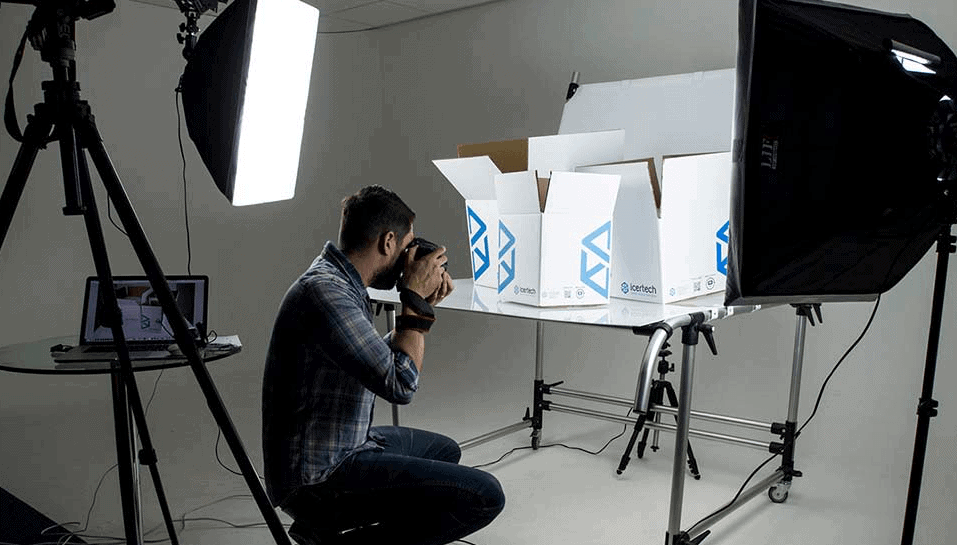
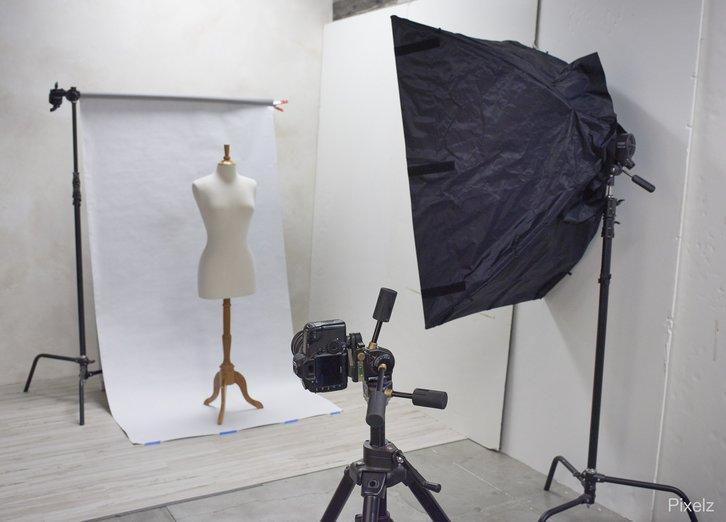
- Set up your photography studio.
To create a photography studio, simply add a camera, tripod, white wall, C-stand, duct tape, and natural light to any room. If you want more control over shooting locations, invest in more gear. Ensure your workspace is clutter-free to stay organized and perform your best work. A clean environment is essential for a well-organized and productive photography studio.
- Backdrop
To capture accurate colours and avoid distractions, use a white or light grey backdrop. Seamless rolls of white paper are inexpensive and ideal for this purpose. Sweep the roll to the floor and secure it with tape. Use a stand for more flexibility, or tape it to the ceiling or wall. Place your product on a model or mannequin in the centre of the backdrop.
- Camera
Product Photography Montreal requires a camera, not a standalone tool. A DSLR with manual settings or a smartphone is recommended. A tripod is essential for stability and consistent shots. Position the camera and product directly in front of you, avoiding camera shake. Adjust angles as needed throughout the shoot.
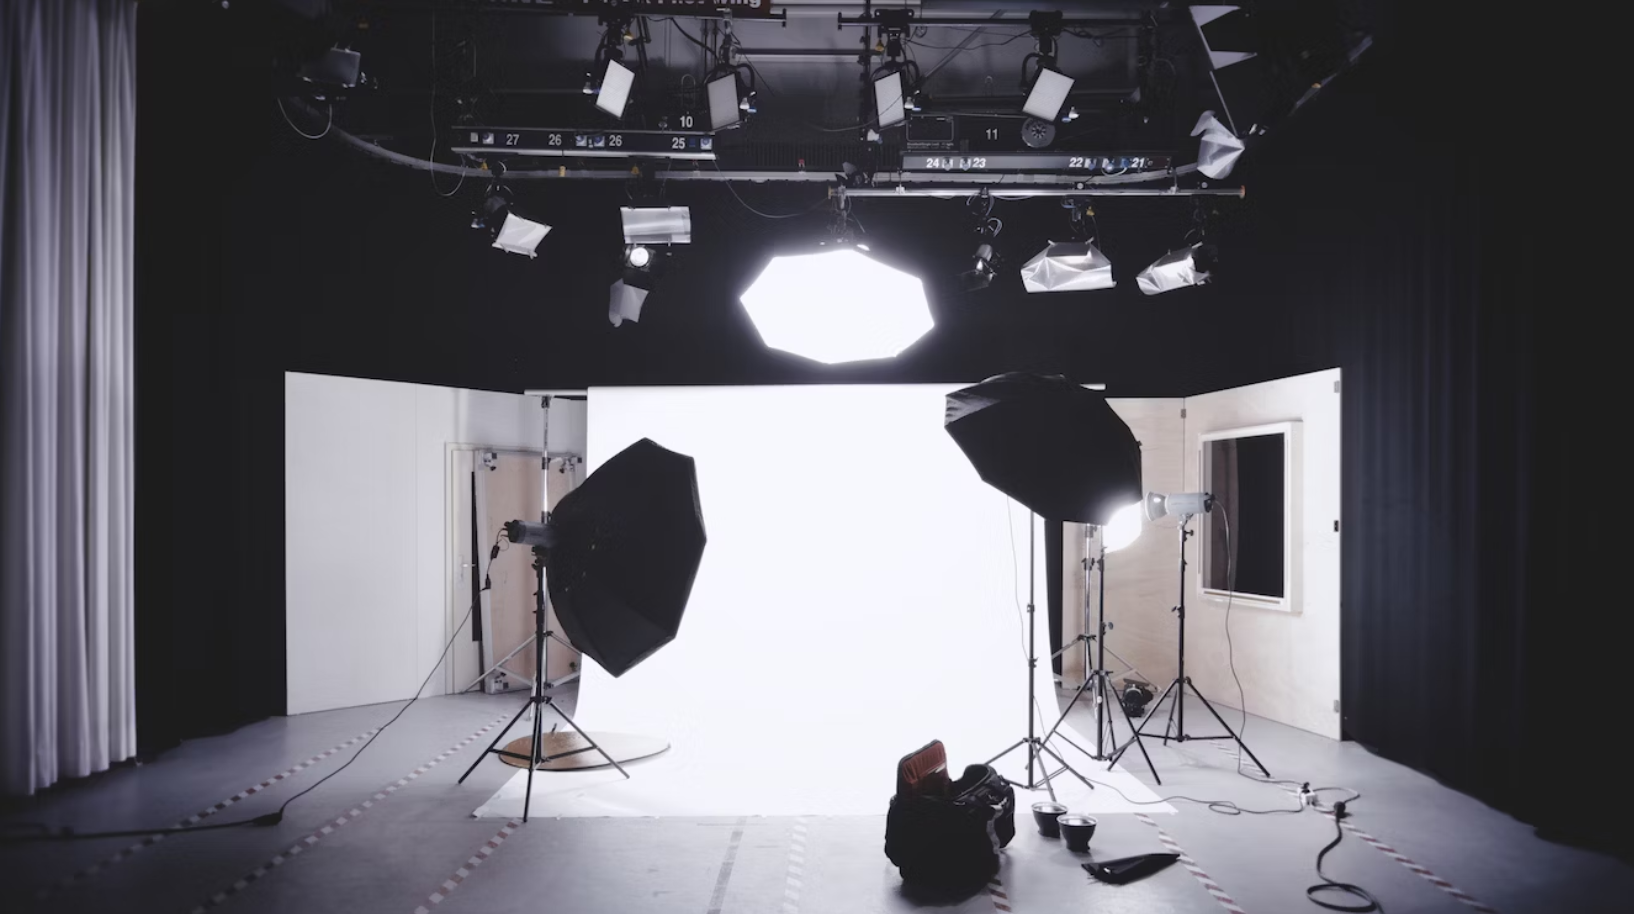
- Lighting
Natural window light is a low-cost, high-quality light source for clothing photography. Renting or purchasing an easy-to-use lighting kit can increase efficiency and professional standards. A single-light setup requires a light head, softbox, C-stand, battery pack, and pocket wizard.
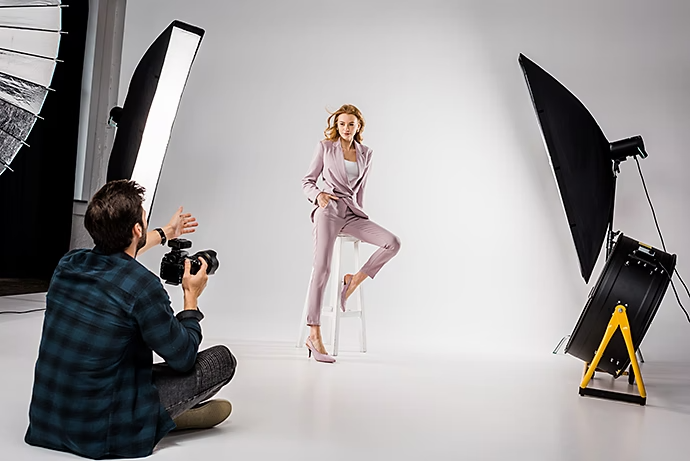
- Styling
Models are desirable for their professionalism and customer connection, but they can be expensive and unpredictable. Mannequins are cost-effective, consistent, and simple to use. Style your product on the mannequin, adjusting the size if needed. Use the ghost mannequin technique in post-production to create 3D images of shape and fit. Flat-lay or hanging apparel methods are also effective.
- Prepare your camera.
To create professional images, ensure proper camera settings, including ISO, aperture, and white balance. Maintain a 600–640 ISO for clarity and sharpness, and set a higher f-number for sharp focus. Adjust the white balance based on light sources, such as tungsten, fluorescent, LED, or natural sunlight, to ensure accurate colour reproduction in Photoshop.
- Take the photograph.
To capture successful product photography clothing images, focus on your subject, adjust camera settings, and take multiple photos of your clothing, embroidery, and unique features. This will increase sales and trust customers’ first impressions of your product.
- Finish in post-production
Post-production processing is essential for preparing product images for the web, ensuring professional appearance and optimal performance. Outsourcing this process saves time and costs, including alignment, cropping, background removal, and colour correction. Accurate colour representations are crucial for customer satisfaction. Convert images to SRGB format.
Conclusion
Self-producing apparel product photography is challenging but achievable. The goal is to improve each shoot and capture the best possible product images, leading to increased sales and customer satisfaction. Follow these steps: prepare the product, build a studio, place lighting, style the product, set the camera, shoot, and perfect post-production for high-quality, proud images.
Impression Photography, Montreal’s experienced commercial and corporate photography firm, ensures professional, creative presentations of products, services, and businesses using original, long-lasting images.